A rear camera can have a clear view with a liftgate stowed and lose part of that view as soon as the gate is lowered. An open compartment door can do the same thing to a side camera. At Safety Net Installations, we look at how the vehicle is used before we decide where the cameras go.
What goes into an eight-camera installation
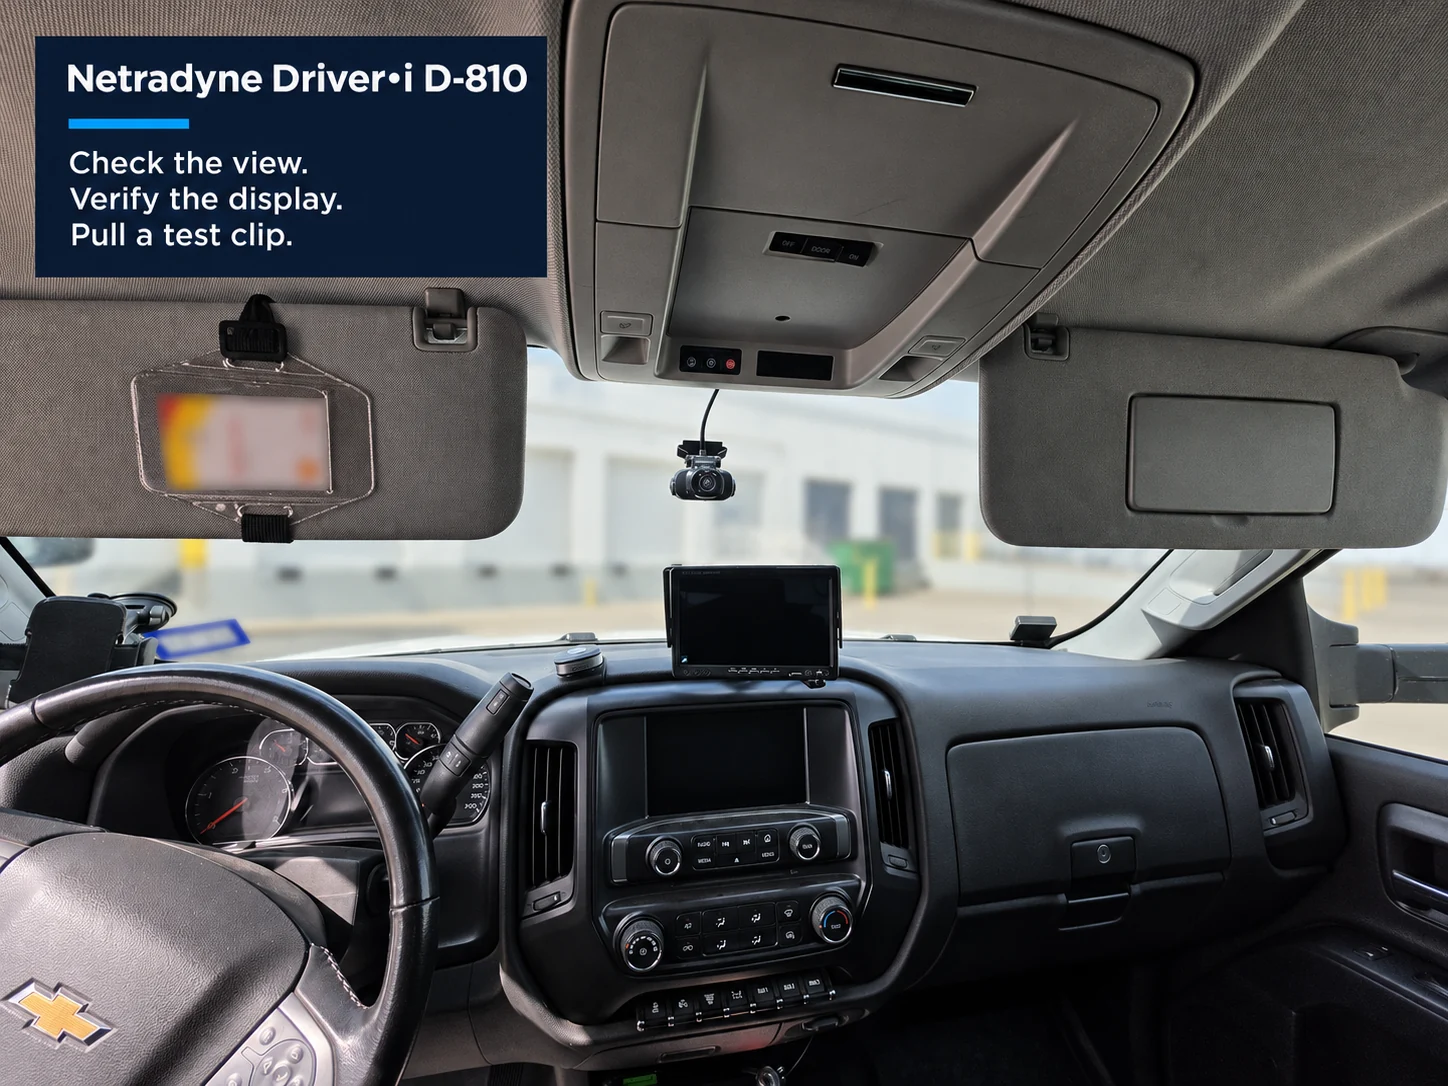
The Netradyne Driver•i D-810 supports up to eight AI-enabled cameras and an optional in-cab display. Depending on the vehicle and configuration, those cameras can cover the road ahead, the cab, both sides of the truck, and the area behind it. That gives drivers more visibility during maneuvers such as turning or reversing and gives safety teams more angles to review after an incident. Netradyne’s D-810 overview
We start by deciding what each camera needs to see. On a box truck, that means checking the rear view with the liftgate stowed and lowered. On a service truck, it might mean finding a side mounting point that gives the fleet a useful view while a compartment door is open. Each camera position has to work with the way the vehicle operates on the job.
Plan the mounts and cable routes together
A good camera position also needs a protected path for its wiring. Our technicians look at what moves nearby and plan the cable route around hinges, liftgate mechanisms, and pinch points. Inside the cab, we consider where the driver can see the monitor and check that the equipment and wiring stay clear of airbag deployment areas.
For fleets with several body types, we recommend documenting the approved mounting points and cable routes on the first vehicle of each type. That gives technicians a reference when they install the system on matching vehicles at the next location.
Review the work while the technician is still on site
Our technicians record equipment serial numbers and photograph the mounts, power connections, and cable routing. SNI’s quality control team reviews those photos in real time so it can flag issues for correction while the technician is still there.
Check the view. Verify the display. Pull a test clip.
Before the vehicle goes back into service, we recommend reviewing each required camera view with the vehicle’s equipment in its normal working positions. If the build includes a monitor, confirm that it shows the intended view during the maneuvers that matter to your drivers. Then have the fleet team pull a test clip from every required angle and confirm that it’s tied to the right vehicle.
When comparing installation bids, ask which mounting, cable protection, documentation, and functional checks are included. On a multi-camera project, those details define what the fleet gets at handoff.
Planning a D-810 rollout? Bring us your vehicle mix and the areas your drivers and safety team need to see. Talk with Safety Net Installations about building an installation plan around your fleet.